Monday, June 28, 2010

New Illustration


OK so I know this is totally NOT what the final of the previous post is supposed to look like. This is actually a completely different image for a different part of the story (duh) lol.
I guess, you know, I tried to post my work in progress as I do each part and take a break, turns out, I cannot work like that... at least not yet anyway.
Turns out, soon after I posted that last update, with the shipwreck in progress, I got a whole different idea on how to do that scene. Im still not 100% happy with my new idea for the shipwreck scene so, I have "placed that bun back in the oven" so to speak. Long story short: Ship wreck scene has went back to the drawing board. (Ok I gotta stop with the analogies now, I sound like my high school spanish teacher, yuck.)

ANYWAY to make up for that, I have completed another scene (above) with the little boy discovering that the pigeon is actually a homing pigeon, (I swear to God this whole story will make sense once all the illustrations are done) I realize that because I'm jumping from scene to scene this is all very confusing, but anyway, at this point i really just want you to admire the art. Anyways. on the work in progress


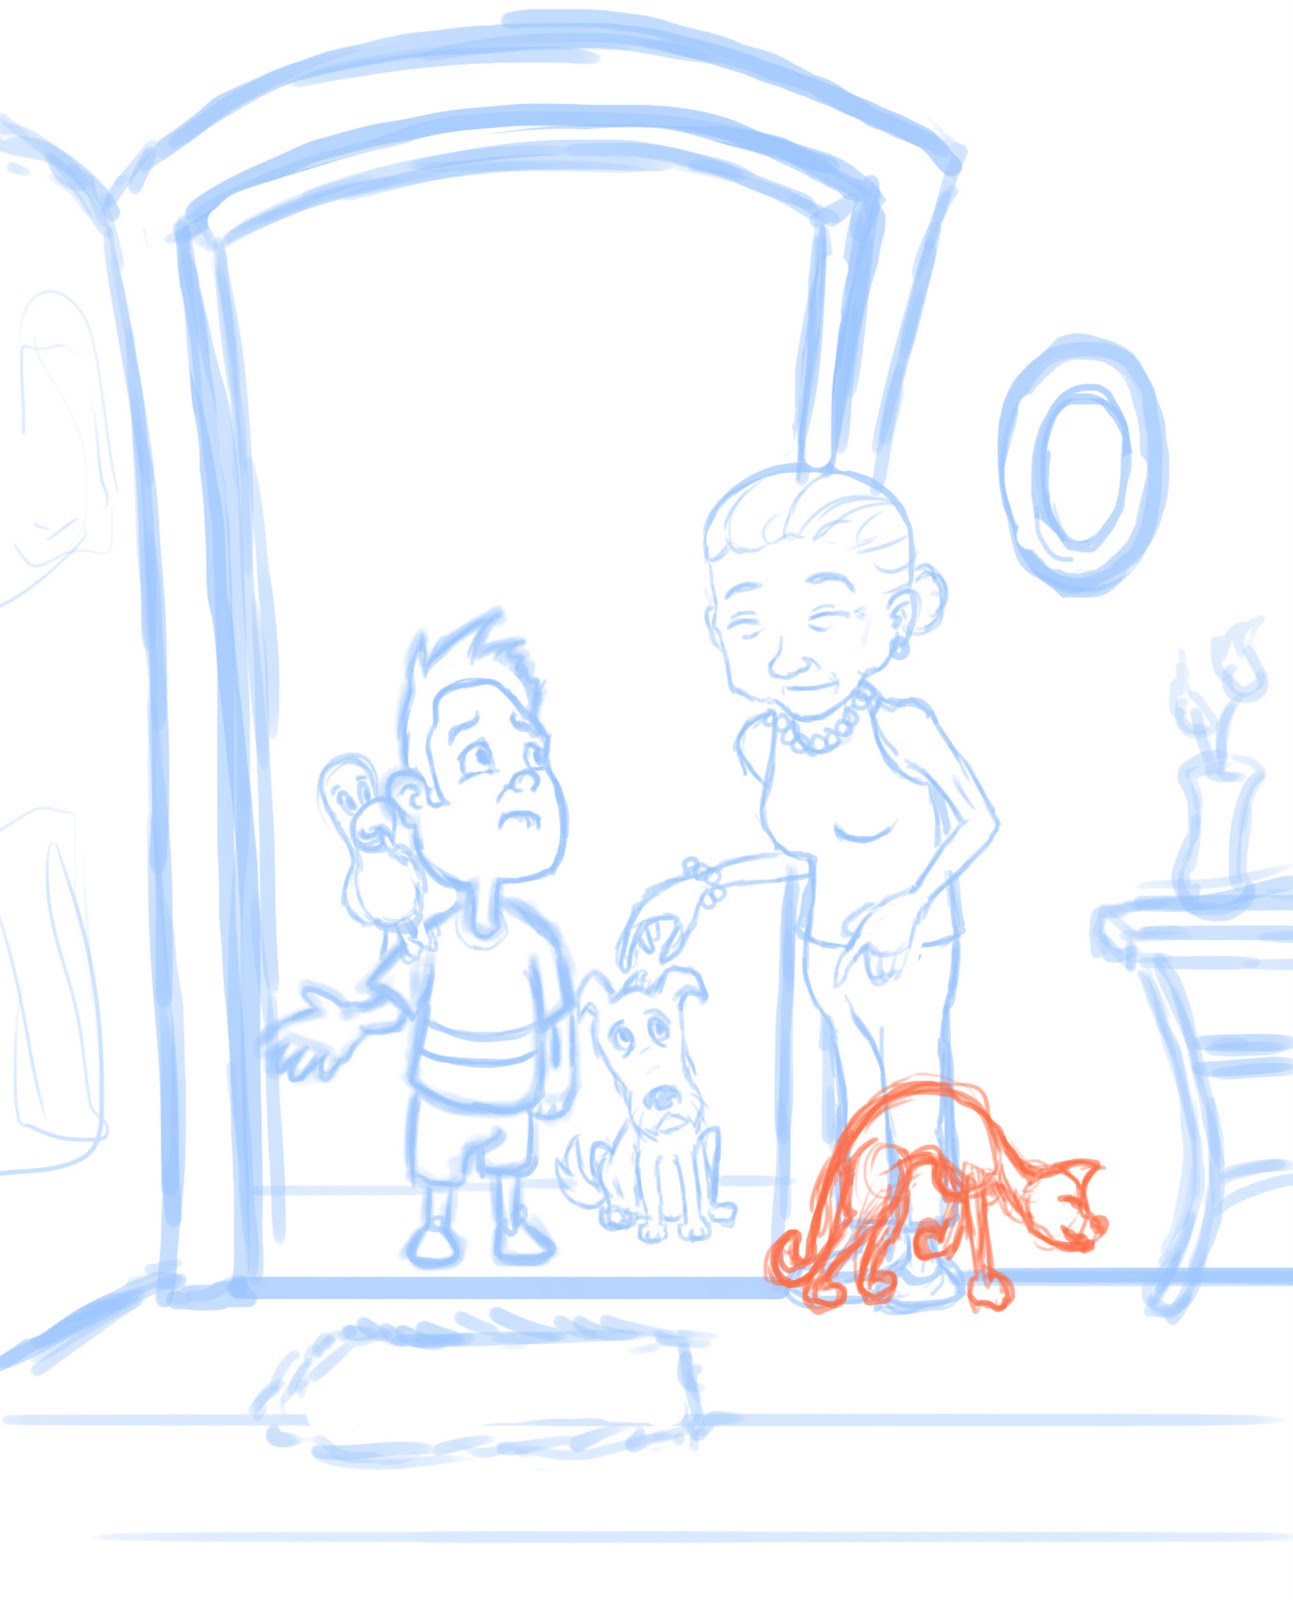
This is the initial sketch. I realize there is no hint of a background what so ever. Sometimes I work that way, and I decide to figure out the background when I reach the digital stage. The reason I would do this sometimes is because the pose for the character was a bit difficult to figure out, so when I felt like I finally nailed it I'm not willing to scrappy up the page with a background that might not look good. The digital experimentation is neater.


This was actually my reference for this image. Turns out this is the "correct" way to hold a pigeon. I figured since this little boy in the story is such a huge animal enthusiast he would know something so technical like this, so I incorporated it in his character.


And this would be my digital lines. The black lines are more final lines and to discern figure from background. (Its more cosmetic and personal than anything. It helps me so I do it) The black line work is also done on a new layer I keep the blue background work on a separate layer and use that as a guide for the background colors.
All the background colors go on a separate layer, in one layer, a friend advised me that its a good idea as when you want to color adjust the entire image its easier when everything is in one layer. I keep my figures separated in their own layer however because I find it makes the neatening up stage much easier and stress free.
Special note here: His hands and the pigeon if you noticed, are much smaller and more proportional here than they are in the "original" sketch. Once my sketch was opened in photoshop, I used the lasso tool to circle the bird and his hands, and free transform>shrinked them to a more suitable size, then I did my digital line work over that.


This is the color test and the lighting test for the image. Pretty much more of the same as in the last images. I paint the background first, I get it as close as I can to finish as I can, then I work on the figures in the image. This is how I work for all my images. I do it for 2 reasons:
#1 the figures are influenced by the lighting of the scene, so it makes sense to me to do the background first.
#2 Personally, for me the fun part of doing this, is the figures! So I do the background first to get it out of the way, so I can savour and have fun with the figures. When I was now starting out I used to complete the figures first, then I would find myself in the situation of "I dont wanna paint a background for this" or "CRAP I can't figure out this lighting! It looks off! (duh because I lit the figure before coming up with the scene's lighting.


And this is the final again. :) Thats all for now folks. This week is crunch time for me. Im trying to get as close to finishing as possible if not completely finished with this story by the end of the week so I'll be updating more frequently. I currently have about 3 more sketches complete and ready for finessing at the moment so I'm feeling pretty good about meeting my deadline. So till then, See ya later.

Saturday, June 26, 2010

New Page in progress

Well, the next image is underway, this one has been driving me nuts. I couldn't figure out a good composition for this scene, but I think this one will do. Im planning to be more in depth with my step by step process, so for this one I'm gonna try to be more thorough.


These are my first sketches, two different angles of the same image, again not really that detailed, its more of a general "mapping out" I haven't included the figures for simplicity's sake. Basically whats going to be going on here is they have hit a reef or a rock, and the boat is sinking, so they are basically shipwrecked on this atoll.


This is a little more fleshed out line plan, I've included the figures in their general stance. I have the father upset about the sinking boat while his wife consoles him and the two children on the right awaiting instructions on what to do next.


This would be my color plan for this image.

More to come, I'm really not in the mood to work on this anymore for today. Taking a break and will tackle the rest of this image tomorrow.

Tuesday, June 22, 2010

On the Boat

Alright today I finished the second illustration, which isnt exactly page 2, I'm not really illustrating in order of events so here we go.


So yes, as per my imaginary contract I made with my viewers here's the work in progress.


Initial Sketch

Yeah so I realise this is a terrible first sketch lol, this is seriously the "meat and potatoes" of this image, (if I submitted this for one of my classes I probably would of gotten zero points for it lol) we have a big triangle that represents the boat and the 2 kids, then two versions of the beginnings of the mother, with a rejected thumbnail for a head where I finally decided to put her. Sometimes this is how the ideas come lol, all mixed up in a scrappy page you don't think will work, but by the time your brain starts working you can envision the rest perfectly so there's no more need for pencil and paper, just scan and go with it...and thats exactly what I did.

Neatened lines in blue via photoshop

Added in seagulls, finalized the location of mommy, Added in a neat cool awesome flying fish in the immediate foreground SHITYEAH!

So Yes, at this point im feeling rreeeeally reeeeally good about myself, took a break to play some team fortress 2 and go to sleep.


Hahaha ok Back to work. So yes, step three was the color and light layout splotches.

So I realise I didn't really indicate a light source in this stage, that was because I figured "Hey they're outside, light is everywhere right? WRONG...well kinda, yes theres light everywhere but the sun is always in a specific location and that influences the shadows. So realising this I just worked in the sun source in after I did these color splotches. I always work back to front therefore the sky and the sea were done first, so it was an easy fix. I'll show more detail on that in my next update.

Then the final

Bye Pets

Ok the first page is finished. Really happy with how this came out!


This is the work in progress


This is my initial sketch/ thumbnail


Then I take that small sketch, blow it up on photoshop, and do a bigger rendering of it in blue, with more detail and cleaner line work. (The cat was done in red because it overlapped the old woman and if it were in blue it would of confused me greatly when I went into color mode lol)


Then I zoom out all the way from the image and do a color mock up test. Just with splotches in the general area, so I can get a feel for where all the colors are gonna be, and where my light source is coming from. It also helps me get started by having big splotches of paint and i just mix and manipulate, workng big to small. (beats the overwhelming feeling of empty space)


*Yeah I removed the table and vase from the final because I didn't want them anymore lol


And there you have it. Just further adding subtracting and finessing and before I know it I end up with my final

New Project: Three Stories of Adventure from the Caribbean

For my new project this summer I will be illustrating a storybook which features three different stories. I'm using the term illustrating quite loosely because the stories are so darn long I wont be able to have illustrations on every page, so Its more like a book with pictures lol. One story is about a homing pigeon, which I will be doing first, the other two are about a kite flying competition and an old man and his museum-like house. The stories are pretty fun and interesting and really go places you wouldn't expect them too, so I have high hopes for the end product.

This would be my second children's book for publication, I have grown much more as an artist since the last book, and I've acquired greater tools and techniques, so I think this book will come out looking much more professional than the last.

ANY way.... on to the fun stuff. My inspiration for this first story.

Firstly, I watched Disney and Pixar's UP recently, again... and I got reeeally into it so that was number one,


This image was done by Norke on Deviant Art I thought it was pretty awesome.


So I decided I would give the images a more natural brushstrokey feel. I got rid of my lines, and made every illustration look like a painting.


My other inspirations


Links to the artists featured in this post


http://naiiade.deviantart.com/
http://norke.deviantart.com/

First Post

Phew ok well this is my.... well its not the first blog I've made, but hopefully It becomes a more active blog, I kinda, never maintained the last one, and eventually I said screw it I dont want to do this anymore. But this is a new start, I'm really aiming to try to keep this one as updated as possible, and post my artwork and my work in progress on it so. For your enjoyment and my improvement, this is, the Jester's blog...